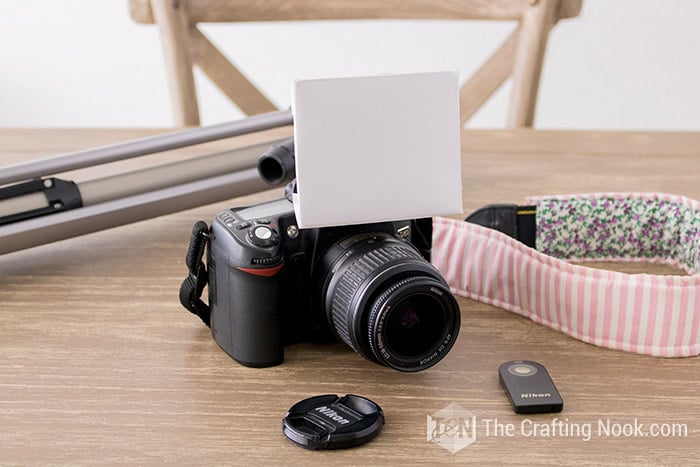
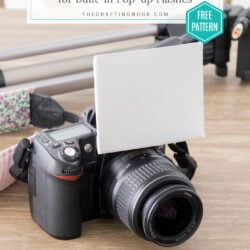
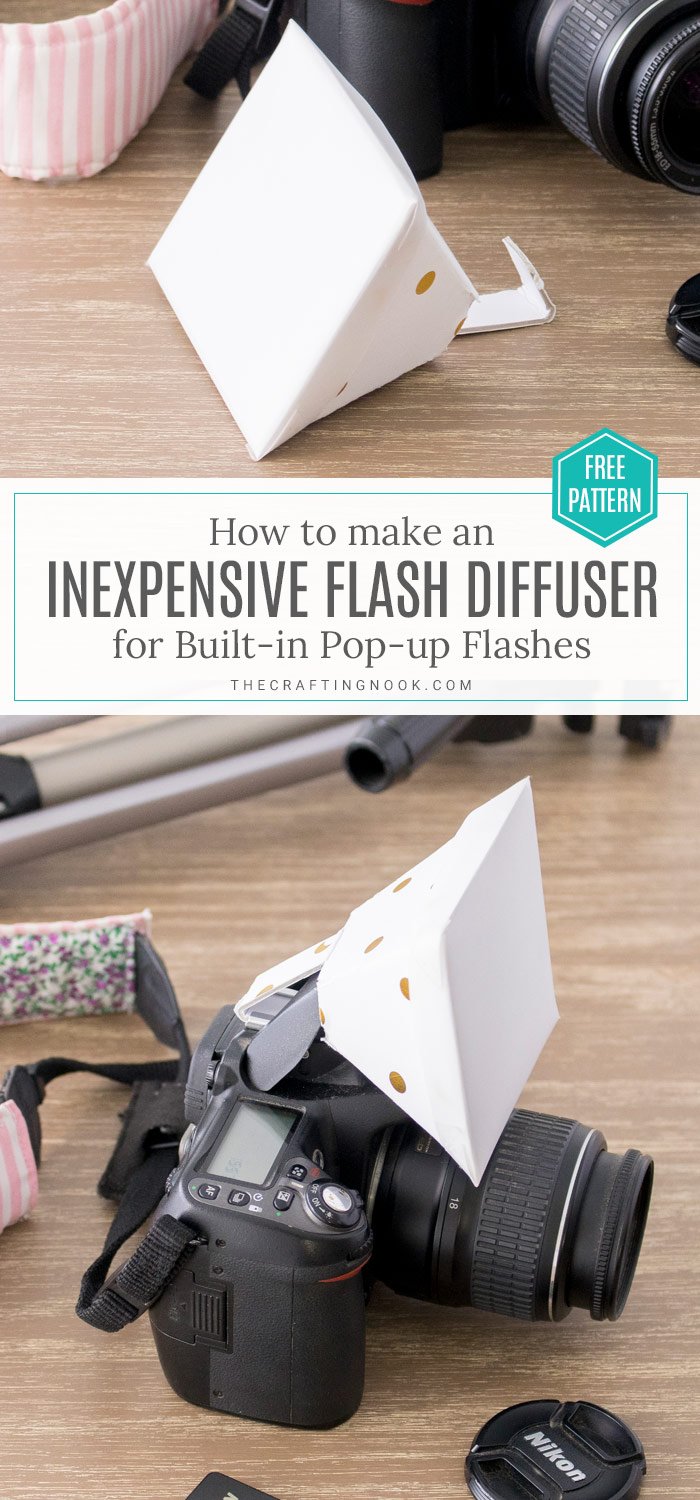
DIY Flash Diffuser for DSLR Built-in Pop-up Flashes
Objects can appear too bright or blown out in images when a flash is used in an indoor setting. A flash diffuser can be used to soften the lighting and take more professional photos.
In this easy tutorial, I will show how to create a DSLR camera flash diffuser for your built-in pop-up flash. It’s easy and inexpensive because you probably already have the supplies at home and if not, they are very inexpensive!

Oftentimes happens that accessories for external camera flashes have both options: for purchase and homemade but for the built-in flashes there aren’t so many.
You might also love these other Photography related ideas: DIY Flash Bouncer for Built-in DSLR Camera Flashes, How to Add Watermark to Multiple Photos at Once with Photoshop Automate Batch, and How to create Photoshop Actions to Resize and Optimize Images.
Making a Flash Diffuser for Built-in Pup-up Flashes at Home
I’ve also noticed that many people besides me have been looking for ways to solve the problem of direct flash light blowing up and damaging our photos. And let’s face it we can’t always use only natural light (which is my #1 option)
One great way to solve the problem of the flash burst of light on the subject is by using a DIY diffuser. But as much as I looked, I couldn’t find exactly what I was looking for specifically for my DSLR built-in flash.
That’s why I decided to go ahead and create my own. Using as inspiration the external flashes options I saw, I created this Homemade flash diffuser that helps A LOT when taking photos with little light.
What is a flash diffuser for photography?
A flash diffuser is a simple light modifier, a semi-opaque tool that is designed to fit the upper part of a specific flash unit (usually external). It’s used to soften or spread the harsh, concentrated light that bursts out of the flash, creating a more even and flattering light on the subject. It also helps remove heavy shadows created by the harshness of the strong lighting.
How to make a Flash Diffuser for DSLR Cameras.
Here I’ll show you how I made a DIY flash diffuser for DSLR Cameras with built-in flashes. On the web there are other ways to solve this but I wanted one like a lampshade so I could concentrate the light and of course, diffuse it.
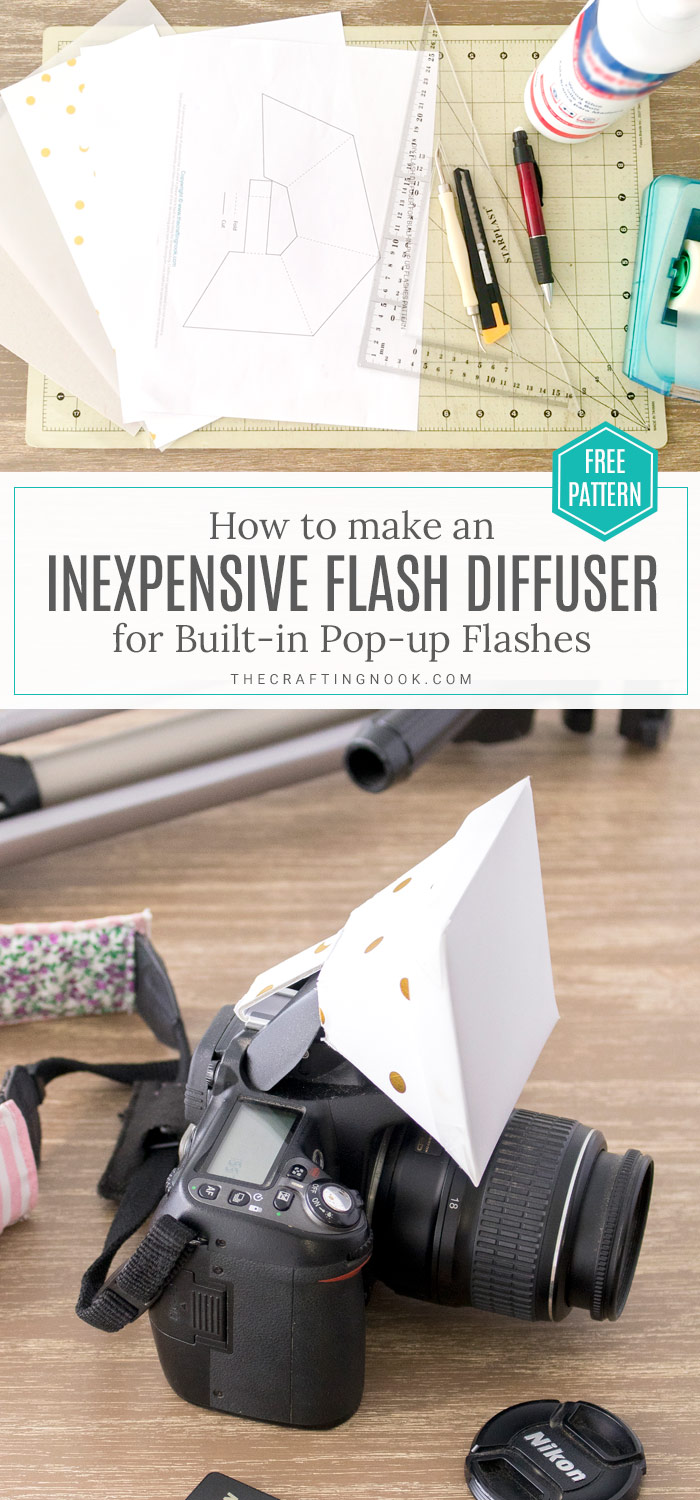
Flash Diffuser Supplies
- Grey cardboard with a thickness that fits into the flash slot
- White and black cardstock (or pattern if you like)
- White glue or mod podge
- Hot glue gun.
- Cutter
- Embossing tool (or a pen that no longer works or the back edge of a scissor)
- Tracing paper.
- Adhesive tape (optionally)
Instructions:
First I made the pattern for the flash diffuser. You can snag it here to print and cut.
Before we begin, be sure to follow us on Pinterest, Facebook, Instagram, and YouTube, and also sign up for our email list (at the end of this post), so you’ll never miss a post!
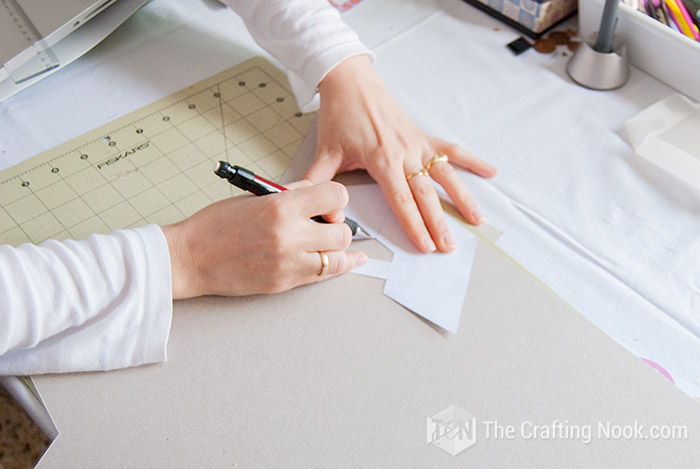
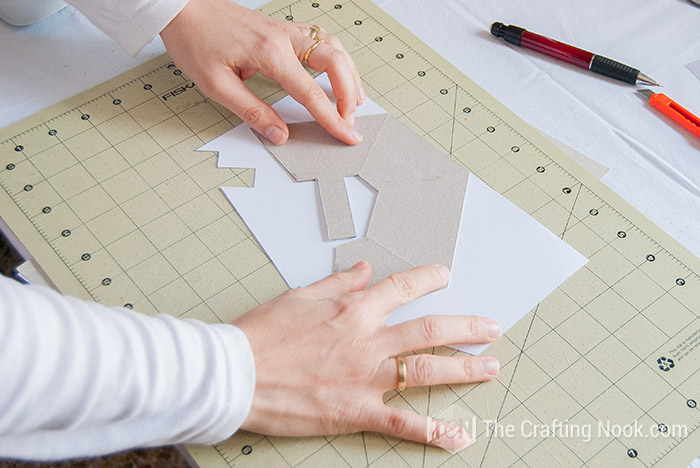
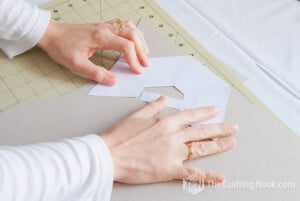
1. Place your pattern on the grey cardboard. This kind of cardboard is used by architects for the structure mockups BUT you can find it often on the back of paper blocks, cardstock blocks and some kind of boxes.

2. Transfer the pattern to the cardboard with a pen including folding marks.
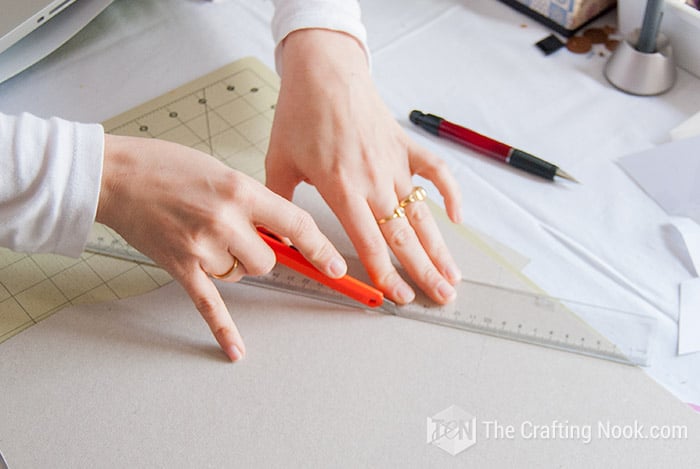
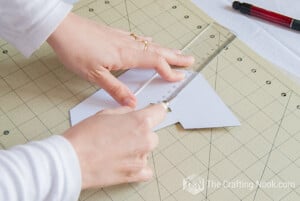
I cut the pattern helping myself with a ruler.
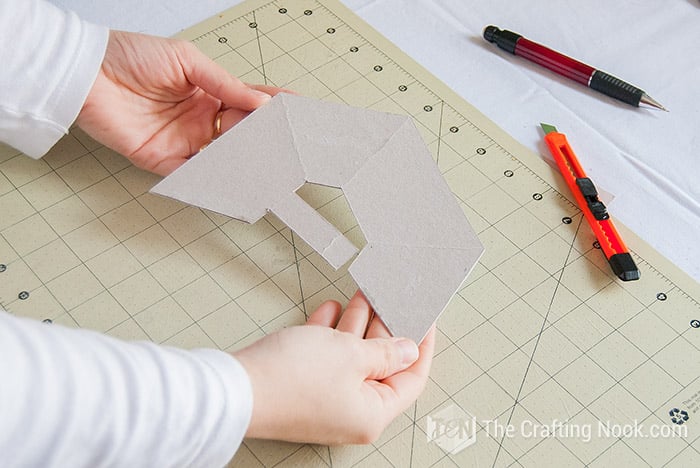
3. With an embossing tool, I embossed the folding lines so the cardboard would fold more easily. You can see what I mean in the video.
4. Once the whole shape was done and verified that it was fitting perfectly, I glued the white cardstock to the “inside” side of the diffuser.
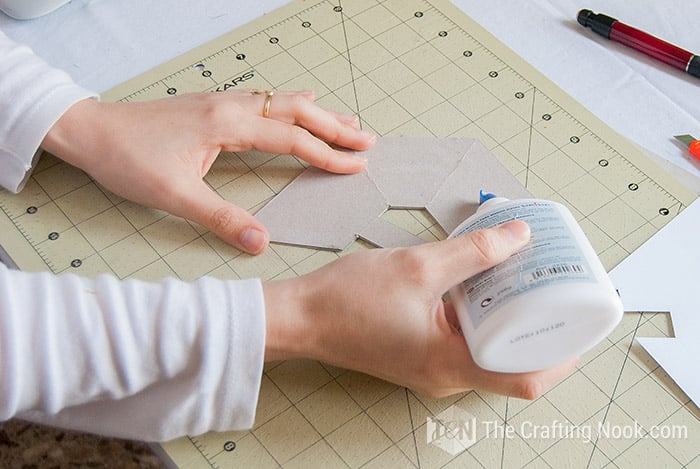
I made sure every edge was well glued and with the help of a ruler I made pressure all over the cardstock to avoid wrinkles.

5. Again, with the embossing tool, I marked the folding lines. I let it dry.

6. Then I cut all the remains of cardstock on the edges to make a fine finish.
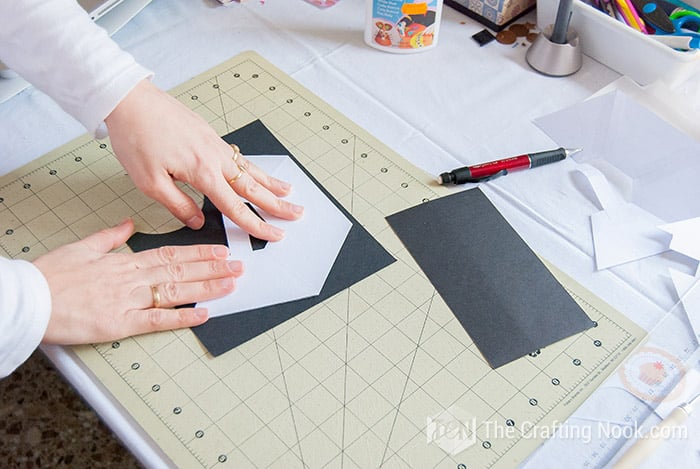
7. Repeat the same process for the outside cardstock. Back when I made it the first time I used black cardstock, nowadays I like to add some color and patterns!
I’ve made this flash diffuser quite a few times over the years so please understand why the photos in the tutorial don’t match the tutorial nor the video. LOL
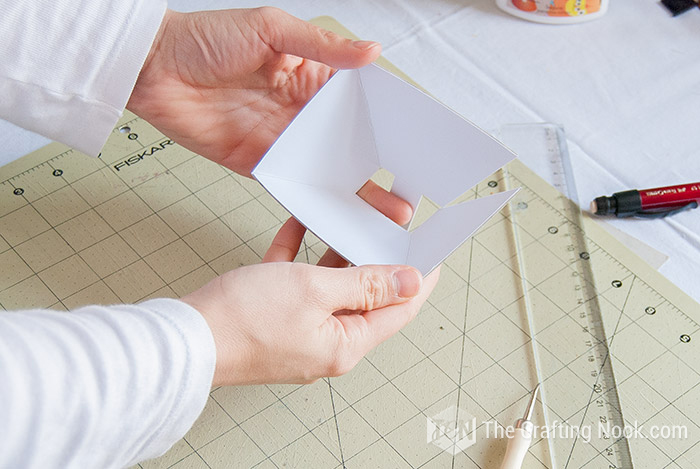
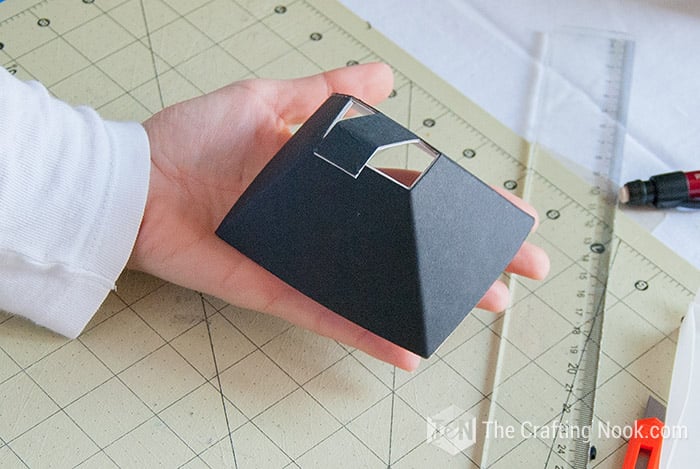
8. Once done, I glued both ends with hot glue and I reinforced it with a piece of black cardstock glued on the outside.
The next step is up to each person, to be honest.
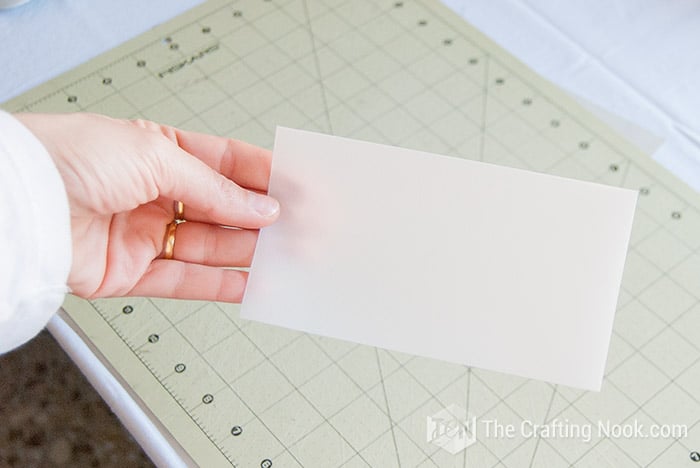
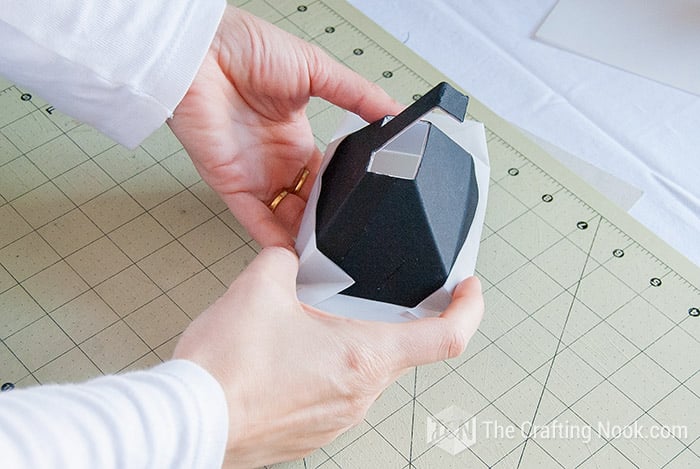
9. I used a piece of tracing paper a bit bigger than the wider opening of the diffuser. That way I could hold it to the sides of the diffuser.
10. Secure the tracing paper in place with glue or adhesive tape.
I preferred holding it on the outside with adhesive tape because that way is not so permanent and I can play with different thickness of paper or even colors to bring effects to the photos.
In this case, it’s not so pretty but it is functional which is what I want for this particular project.
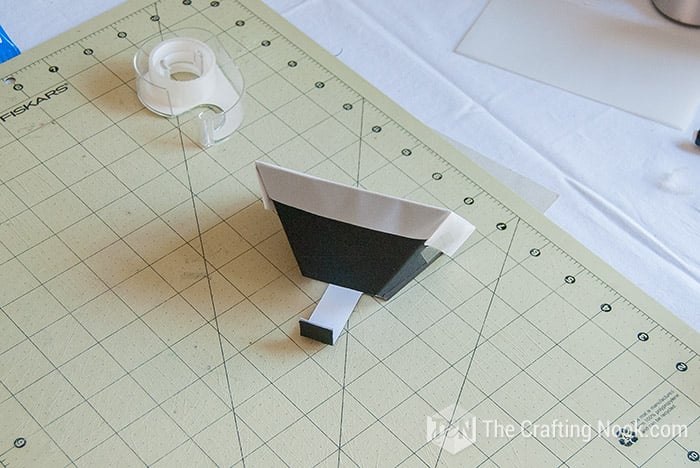
If you want you can just cut on the edge and glue it so it looks pretty!
That’s it!!!
There you go!
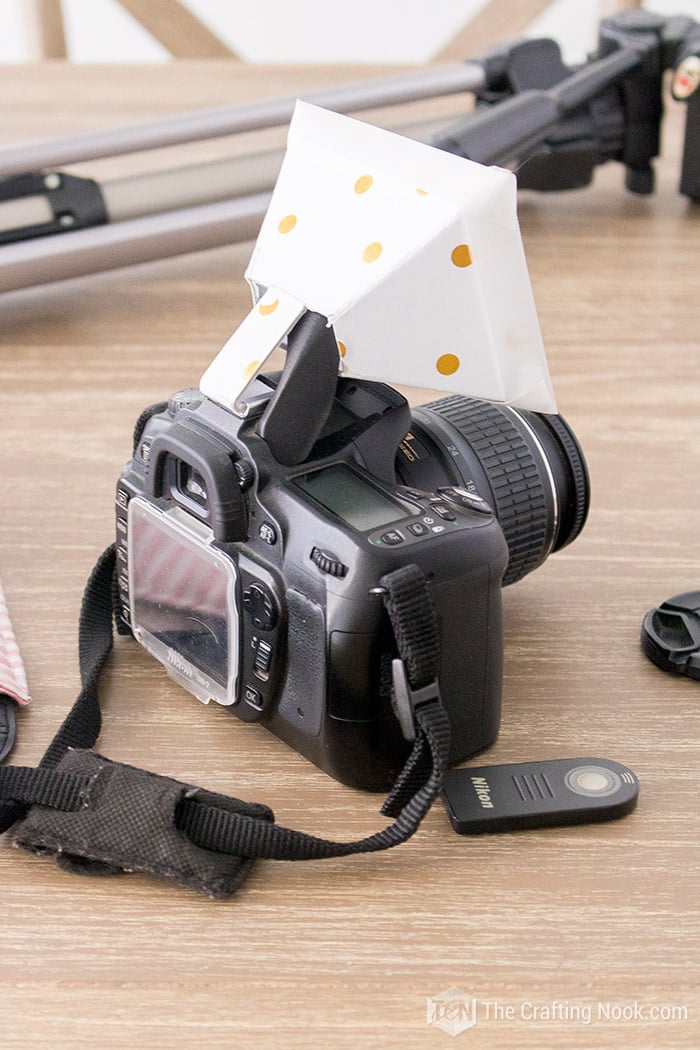
11. To use it, just insert flash through the small opening of the diffuser and insert the long piece in the external flash slot to hold it, and adjust as needed.
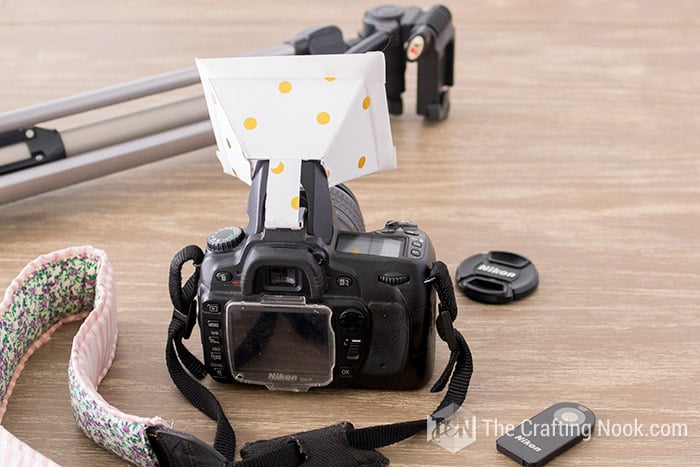
As you can see it’s not hard to make. Maybe it might take a few more minutes than other options out there but in my experience, the time I invested in this project was worth it a thousand times!
Here you can see a test I did with and without the flash diffuser. You can see what a huge difference that makes.
Photo Samples WITHOUT Diffuser:

Photo Sample WITH Diffuser:
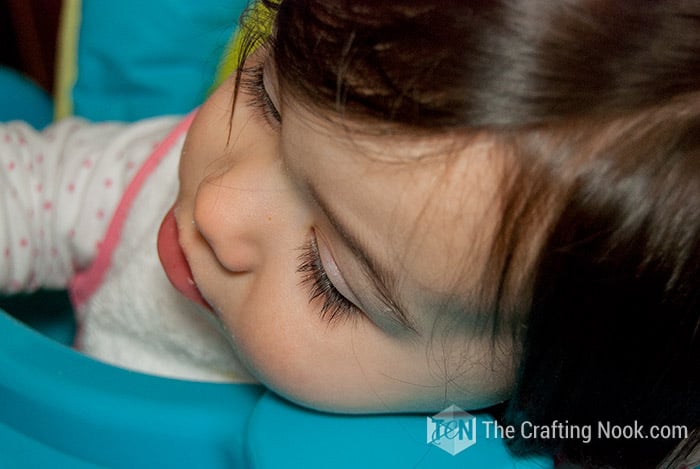
What do you think?
Doesn’t it make a huge difference?
I hate those super white boosts of light on faces or objects.

Frequently Asked Questions
A flash diffuser is a simple light modifier, a semi-opaque tool that is designed to fit the upper part of a specific flash unit (usually external). It’s used to soften or spread the harsh, concentrated light that bursts out of the flash, creating a more even and flattering light on the subject. It also helps remove heavy shadows created by the harshness of the strong lighting.
The main purpose of a spread out the light that comes from a camera flash. Light diffusers make bright or harsh light softer, spreading it across a wider area and eliminating some of the unwanted glare caused by fluorescent flashlights. It kind of works as a softbox you could say.
This type of tool is especially useful for portraits. Photographers use it to minimize harsh shadows and bursts of light on the subject’s face.
I know there are super easy options you can find on Pinterest and on Google. BUT I didn’t want just something easy, I wanted something durable, functional and as professional as homemade can be.
This project took me about 30 to 40 min (considering I was filming and taking photos) so IMO it’s not a big deal and it lasts a couple of years depending on how much I use it. I’ve made about 3 or 4 in the last 2 years.
So, I’m not saying this is the perfect Flash diffuser but it has worked like a charm all these years and I haven’t spent much money or time on it, so in my book that’s a win-win.
More easy crafts for Photography to try
If you liked this easy DIY Flash Diffuser tutorial, you might love these other photography related projects:

DIY Flash Diffuser for DSLR Built-in Pop-up Flashes Tutorial
Tools
- Embosing tool (or a pen that no longer works or the back edge of a scissor)
- cutter
- scissors
- Hot glue gun
Supplies
- Grey cardboard with a thickness that fits into the flash slot Like architect carboard
- White and black cardstock or pattern if you like
- White glue or mod podge
- Hot Glue stick
- Tracing paper.
- Adhesive tape optionally
Instructions
- Place your pattern on the grey cardboard. This kind of cardboard is used by architects for the structure mockups BUT you can find it often on the back of paper blocks, cardstock blocks and some kind of boxes.

- Transfer the pattern to the cardboard with a pen including folding marks.
- I cut the pattern helping myself with a ruler.
- With an embossing tool, I embossed the folding lines so the cardboard would fold more easily. You can see what I mean in the video
- Once the whole shape was done and verified that it was fitting perfectly I glued the white cardstock to the “inside” side of the diffuser.
- I made sure every edge was well glued and with the help of a ruler I made pressure all over the cardstock to avoid wrinkles.
- Again with the embossing tool, I marked the folding lines. I let it dry.
- Then I cut all the remains of cardstock on the edges to make a fine finish.
- Repeat the same process for the outside cardstock. Back when I made it the first time I used black cardstock, nowadays I like to add some color and patterns!
- I’ve made this flash diffuser quite a few times over the years so please understand why the photos in the tutorial don’t match the tutorial nor the video. LOL
- Once done, I glued both ends with hot glue and I reinforced it with a piece of black cardstock glued on the outside.
- The next step is up to each person, to be honest.
- I used a piece of tracing paper a bit bigger than the wider opening of the diffuser. That way I could hold it to the sides of the diffuser.
- I preferred holding it on the outside with adhesive tape because that way is not so permanent and I can play with different thickness of paper or even colors to bring effects to the photos.
- In this case, it’s not so pretty but it is functional which is what I want for this particular project.
- If you want you can just cut on the edge and glue it so it looks pretty!
- That's it!!!
- There you go!
- To use it, just insert flash through the small opening of the diffuser and insert the long piece in the external flash slot to hold it, and adjust as needed.

- As you can see it’s not hard to make. Maybe it might take a few more minutes than other options out there but in my experience, the time I invested in this project was worth it a thousand times!


Have you used or made any flash diffusers yourself? If so, share it with us in the comments!
A few photography tips I love from my favorite bloggers:
- Photography Setups and Equipment by Rachel over at Craving Some Creativity.
- DIY Photography Light Studio Set Up by Brittany over at Pretty Handy Girl
If you found this post useful, please don’t forget to share with friends and PIN for later!
Til' next time...

GET INSTANT ACCESS TO THE HOME ORGANIZED WORKBOOK
Plus freebies, printables, exclusive content, tips, stay connected, be the first to know great offers and Product Launches!
Disclaimer: By clicking on the "Yes, I want it" button above you are giving me your consent to collect and use your information according to the law and My Policy Privacy and The Cookie Policy. Zero Spam I promise!